Medu vada or minapa gaarelu, as they are known in Telugu, is ground urad dal batter shaped like a donut and deep fried in oil. Well it is not a donut, as it is a savory item. I think it is the fluffiest, filling, savory donut when made properly. It is served as a snack, breakfast item served with chutney and sambar or eaten with sambar as part of a meal too (at least we do that in our family).
I have seen my mom and mother-in-law make these very often. Either for festivals or when feeling like a fancier breakfast or snack, this was one of the default preparations. And they have managed to prepare vadas with such ease that I took it for granted. When I attempted vada for the first time, everything that could go wrong did go wrong. The batter was too loose, I was unable to shape them, it would stick to my hands, gosh! I finally just dropped these as little balls of batter into the hot oil and fried them. That tasted good too, but that was the moment I realized that vadas take a little bit of skill and learning.
Here are the things I have followed to make good vadas. First, use chilled water to grind the batter. Second, grind the batter with the least amount of water possible – not too stiff but not too loose either. If you have a wet grinder, awesome! Gets the job done pretty easily. But if you don’t, do not worry. You can use your mixie to make this, just add a couple of tablespoons of water only and let it turn fluffy – which means, even if it looks ground, whir it up a couple more times to make it fluffy. Third, once you mix in the other ingredients, keep beating the batter for a couple of minutes, makes it light. Four, urad dal batter sticks. I can’t say that enough. It sticks to your hand and is difficult to get rid off. Especially when you need to drop it in oil. So, wet your fingers (yes thumb too!) and palm well. Not soaking wet, but well enough so the batter doesn’t stick. Five, this takes practice. So do not fret if your first attempt does not turn out well. You can very well make punugulu from this batter. Having said all that, all this requires is a bit of practice and you are good to go.
Ingredients
- Urad dal – 1 cup
- Onion diced – 1/4 cup (optional)
- Chillis sliced – 3 (adjust to taste)
- Whole peppercorns – heaped 2 tsp
- Curry leaf – 1 spring (optional)
- Cumin seeds – 1.5 tsp
- Salt – to taste
- Water – 4-5 tbsp to grind batter + more to soak urad dal and wet hands
- Oil – for deep frying
Time taken – 4 hours to soak; 10 minutes to prep; 20-30 mins to fry
Recipe
- Wash and soak the urad dal in enough water for about 4 hours. Urad dal tends to expand as it soaks, so be generous with the amount of water
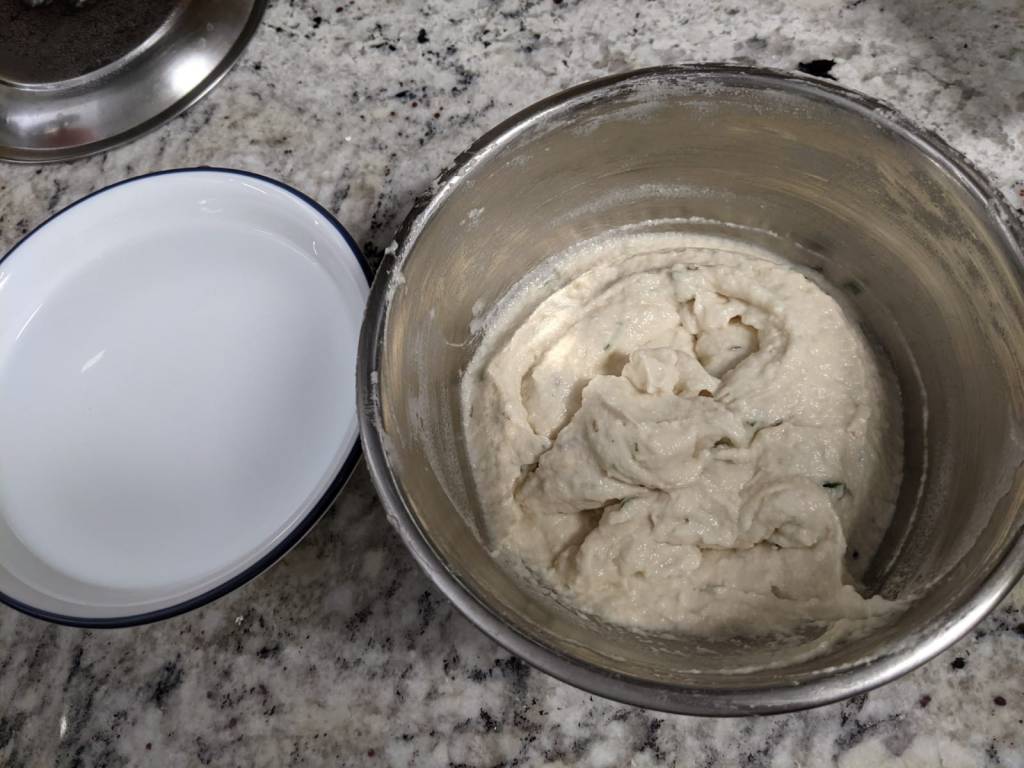
- Soak urad dal batter by using just a tablespoon or two of chilled water along with salt. Make sure that the batter is on stiffer side and well aerated. If the batter seems too stiff or is difficult to grind, add in a tablespoon of batter at a time, not more.
- Remove to a dish to mix in the onion, chillis, peppercorns, curry leaf (torn) and cumin seeds. Check for seasoning and add more salt if needed.
- Heat a kadhai with oil to deep fry these vadas
- Now, dip your palm in a bowl of water and try to beat the batter by hand. This helps aerate it more. If the batter feels stiff here, add a teaspoon of water at a time only and continue to beat for about 2-3 minutes. You will notice that the batter looks fluffier than when ground. Now, have a bowl of water as well ready next to the batter, so you can dip your hand every now and then.
- Check if the oil is hot enough by dropping in a small dollop of batter into it. If it rises quickly but not too rapidly, its ready. If the batter sinks in, give it more time
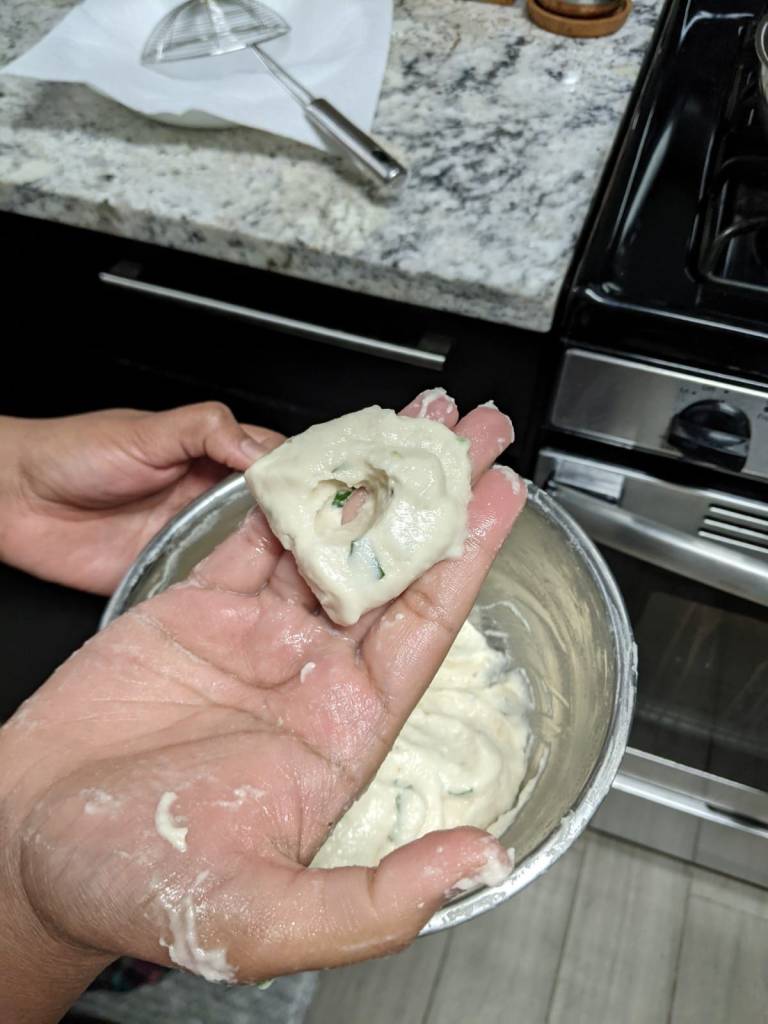
- Once the oil is ready, dip your hand in the bowl of water, including the thumb. Take about 1/4 cup of batter into your hand and let it sit on your fingers – leave the thumb out, need the thumb to make the vada hole. Use your thumb to make a hole in between. Once it looks good, drop it into the hot oil. Here the water on your palm, fingers and thumb helps to shape the vada and also drop it into the oil. The hole in between ensures even cooking and frying of the vada
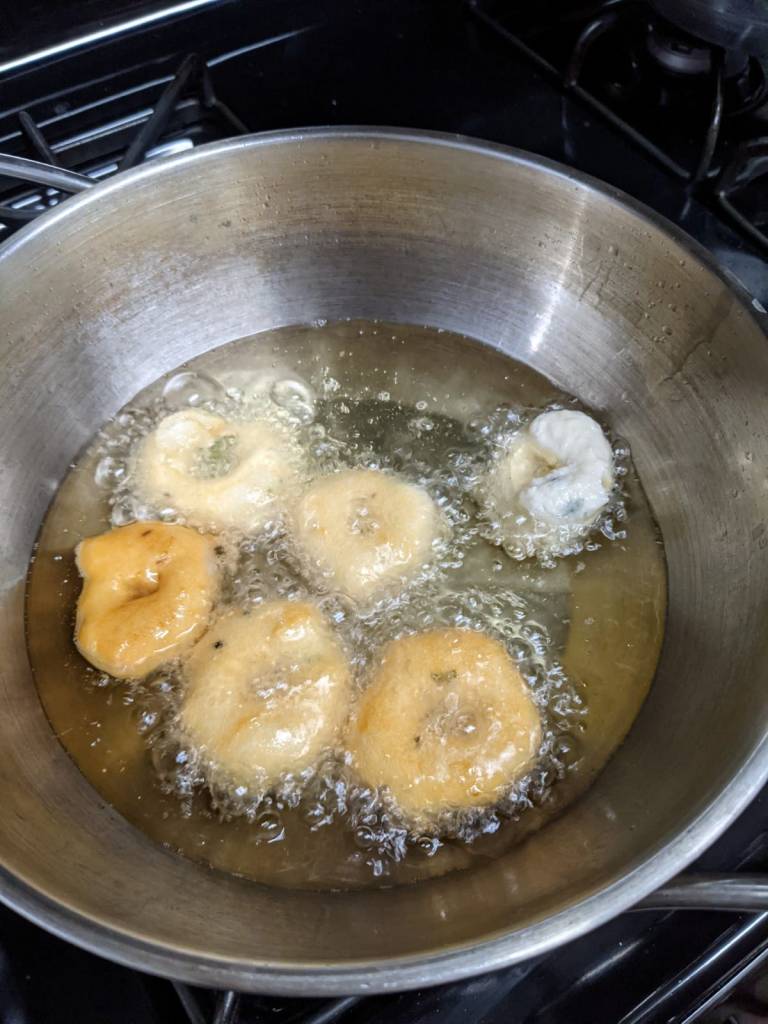
- Once the vada rises to the top of the oil, flip it over and let it cook on the other side as well. When golden brown, remove to a plate with tissue to drain any oil. Although, when the oil is hot enough and vada batter has just enough water in it, the do not absorb too much oil
- For a beginner, I would suggest making just one or two vadas during the first batch and check if they cook to be fluffy and light. If not, add a teaspoon of water now and beat the batter and continue to make vadas. You are certain to get them right now
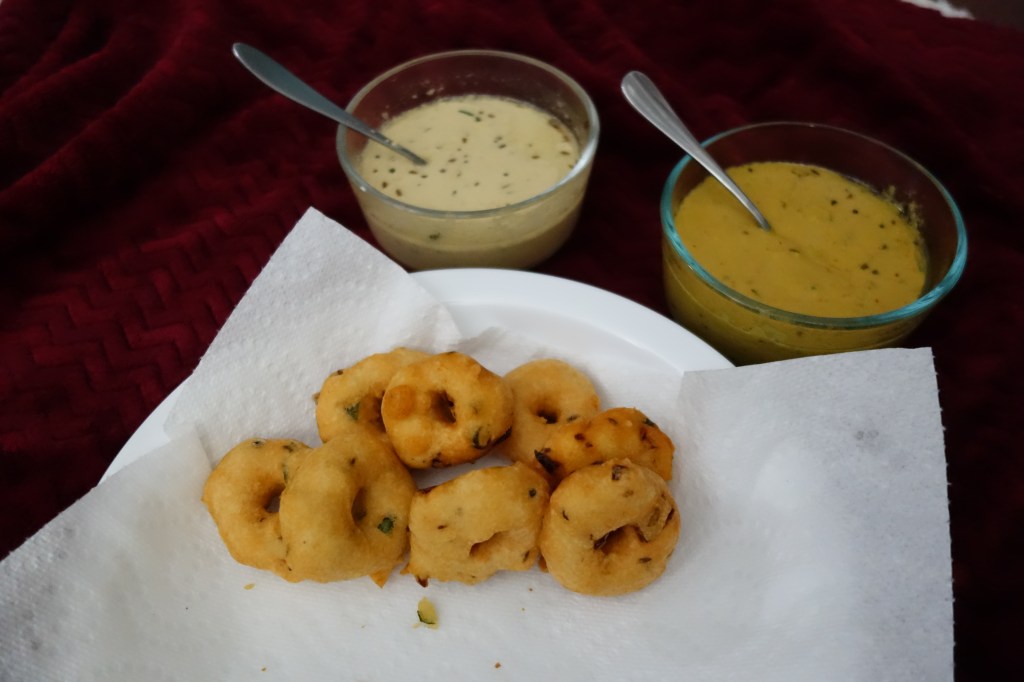
- Once all are done, serve them hot with chutney and sambar, or two chutneys in my case (below)
I’m participating in #BlogchatterA2Z hosted by BlogChatter.

Me and my younger one love medu wada a lot, just that I never get the perfect shaped wadas ever. I will sure follow this tip of using chilled water and beating the batter. Your pic looks tempting.
LikeLiked by 1 person
Thanks Pragun! Please let me know how they turn out next time.
LikeLike